How to Install WPC Wall Panel: A Complete Step-by-Step Guide
Introduction
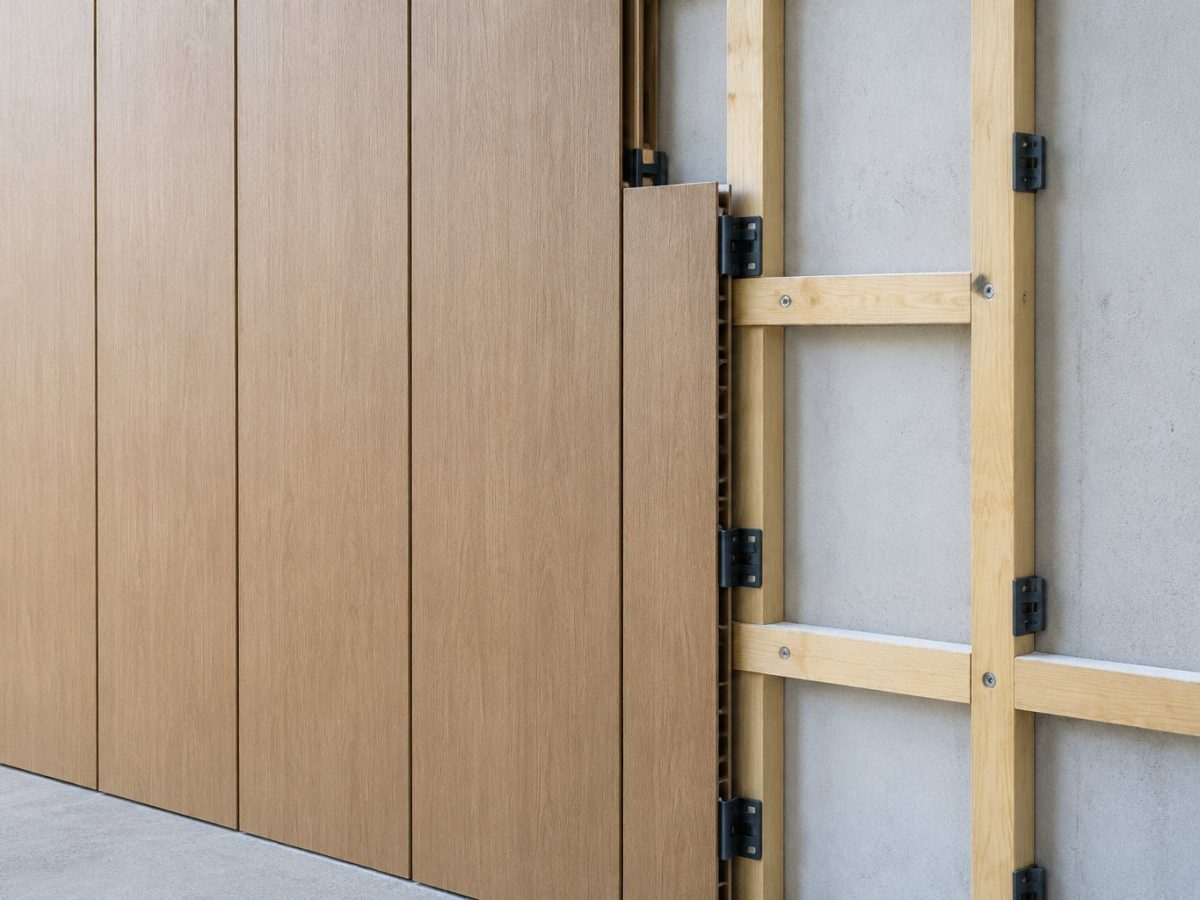
One of the biggest advantages of WPC wall panel is how easy it is to install. Compared to traditional wood siding or natural stone cladding, a professional two-person team can install 30–50 m² of WPC panels per day. This guide from Linyi Solland walks you through the entire process — from preparation to finishing.
Before You Start: Tools and Materials
Tools You'll Need
□ Tape measure (5m or longer)

□ Spirit level (1.2m or 2m)

□ Pencil or chalk line

□ Power drill with masonry bits

□ Electric miter saw or circular saw (with fine-tooth blade)

□ Hammer and rubber mallet

□ Safety glasses and dust mask

□ Work gloves

□ Step ladder or scaffold

□ Stud finder (for hollow walls)

□ Caulking gun (for outdoor installation)
Materials Checklist
□ WPC wall panels (10% extra for cutting waste)

□ Matching trim pieces (starter strip, J-trim, corner trim)

□ Stainless steel clips and screws (typically included with order)

□ Expansion joint spacers (5mm–10mm)

□ Battens / furring strips (for non-flat surfaces)

□ Neutral-cure silicone sealant

□ PE foam insulation tape (optional)

□ Anti-corrosion screws for outdoor use
Step 1 — Measure and Plan
- Measure the wall area in square meters (width × height)
- Order 10% extra for cutting waste and future repairs
- Acclimate the panels for 24–48 hours in the room where they will be installed (this prevents thermal expansion issues after installation)
- Plan the layout — decide whether panels run vertically or horizontally, and how joints will align at corners
- Mark the first panel position with a chalk line and spirit level